
Thank you for helping with our mask project. Included in your kit is:
Material for masks
Ties
Pipe cleaners
The main instruction for these masks is found on this video. We recommend that you watch the entire video before starting the masks. https://www.youtube.com/watch?v=E-tSCGhhdMQ&feature=youtu.be
There are a few small differences between the video and our masks.
· We are using a 9” x 15” piece of fabric. We find that gives better coverage.
· We have made the ties for you. Your kit will contain either 20 or 40 ties. If you have long ties, follow the instruction on the video. If you have the shorter ties, place them in the four corners of the mask and stitch over them.
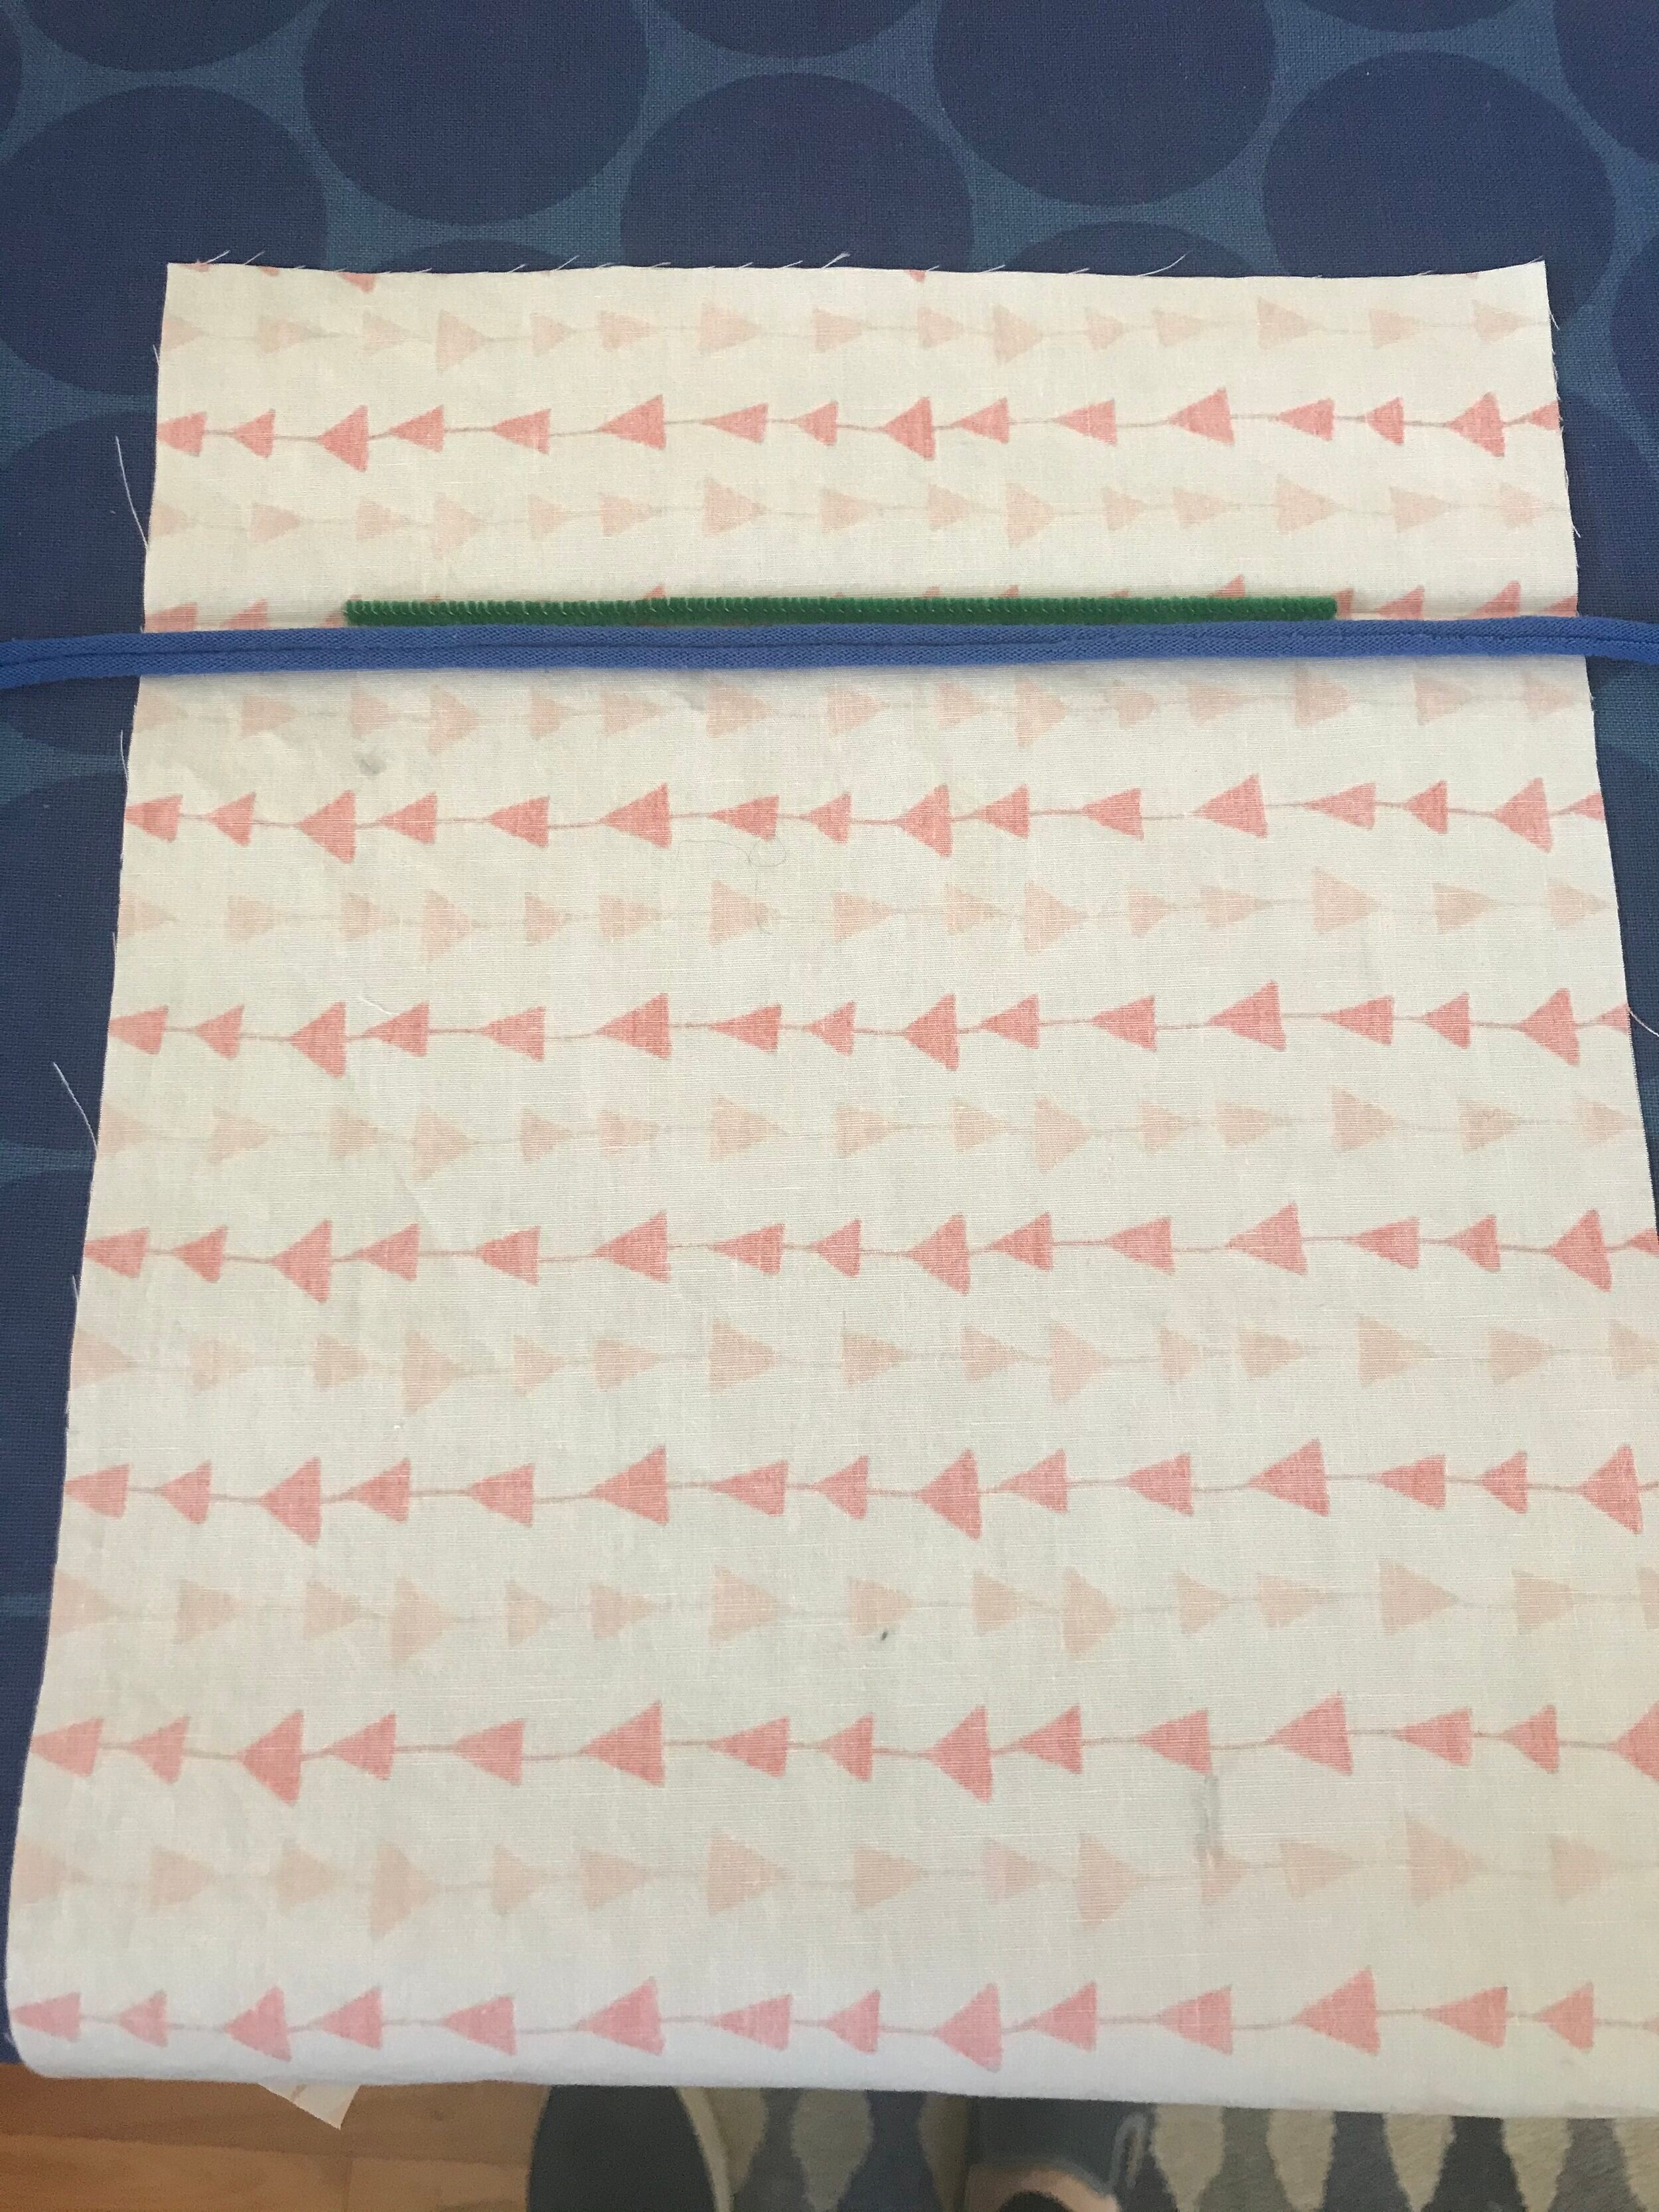
· We have added a pipe cleaner at the top to help in shaping the mask over the top of the nose
· We recommend doing a second row of stitching on the side of the masks.
Here is how you add the pipe cleaner. (Refer to 3:40 in the video) We recommend that you turn in the ends of the pipe cleaner so there will not be any exposed wire.
When you put in the first tie, add a pipe cleaner in the center above the tie.
Follow the directions on the video for the remainder of the project. After the final step on the video we recommend adding another row of stitching on the side of each mask. You may want to do a stitch over the pipe cleaner to hold it in place.
Thank you! Please let us know if you have any questions. sbwilson@slcsalem.org